The full screen era is a bit confusing, because it is because everyone does not have a standard to define what specifications are considered a full-screen mobile phone. Recently, Gionee also launched a comprehensive screen mobile phone in accordance with the times. The 18:9 ratio of the screen plus the larger screen ratio makes the front view of the machine good, and the concentric design of the metal surface of the back is the same. One of the highlights of the machine was the change of the M-series to give people a sense of business, and added a touch of fashion. Today we will dismantle the Gionee M7 to see what kind of work is underneath its gorgeous appearance.
Configuration, Jinli M7 uses MediaTek P30 processor, clocked at 2.3GHz, 16nm process, with 6+64GB memory, with 6.01 inch 2160*1080 resolution AMOLED material screen. The configuration is not low, in general, it is a mobile phone for middle and high-end users, of course, the price is also close to 3k, which is 2799 yuan.
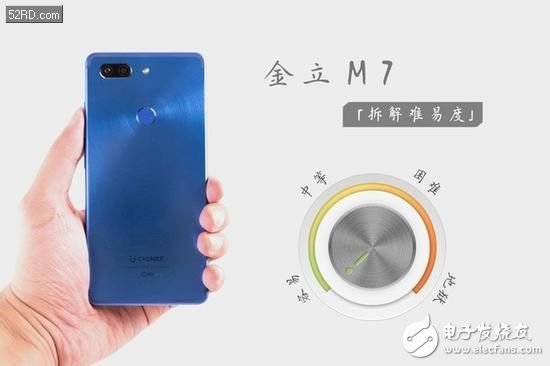
From the perspective of the difficulty of dismantling, the Jinli M7 is a relatively good type of disassembly. The two most difficult points of the mobile phone are the fuselage back shell and the battery. The back shell of the machine is designed with screws and buckles. In addition to the screwdriver tool and the swaying piece, it is not difficult to disassemble the back shell, and the battery is fixed in a strong double-sided tape, but the machine provides a handle, which reduces the difficulty of disassembly. As for the other parts, the traditional three-segment layout of the Android phone is basically used, and the screws are not used much, so the overall disassembly is not difficult.
The appearance is tough, the sun pattern is unique
Let's take a brief look at the appearance of the aircraft.
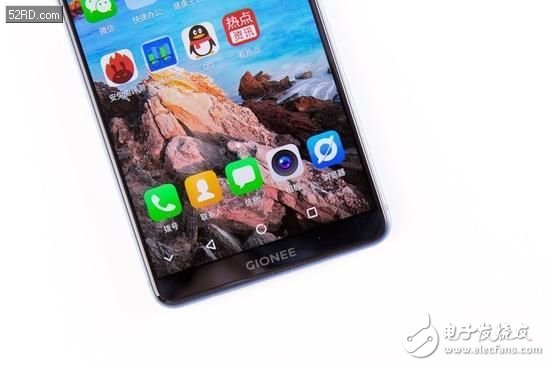
The front of the fuselage of the Gionee M7 compresses the forehead and chin to a very narrow width in order to increase the screen ratio, so there is no physical button design. The top is equipped with an earpiece and various sensors in a very limited space. Some people may worry about whether the camera has shrunk from the camera. From the official 800W pixel parameters, it has not shrunk.
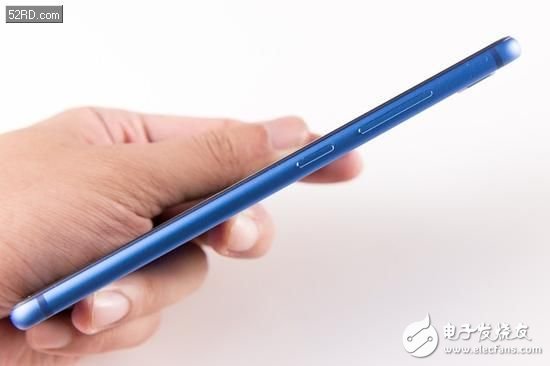
The middle and back shells of the fuselage are integrated, but the process of the surface is different. The middle frame adopts the sand blasting process and maintains a good feel for the curve design similar to the iPhone.
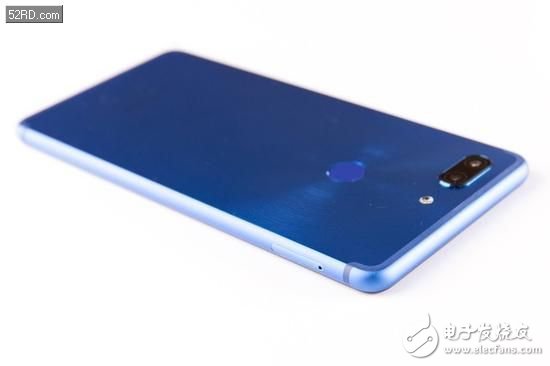
The bottom of the fuselage is designed with a speaker outlet, Micro USB interface and headphone jack, with a centered design.
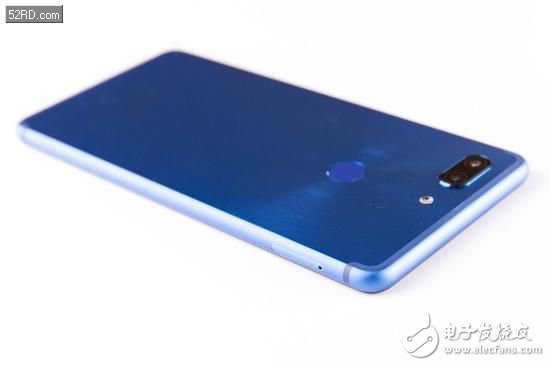
The back shell adopts a very characteristic concentric circle design, and the center of the circle is designed with a fingerprint recognition module. The technique of drawing is relatively delicate, has a certain damping feeling, and is not easy to contaminate the fingerprint.
The layout is compact and you don't forget the color matching.
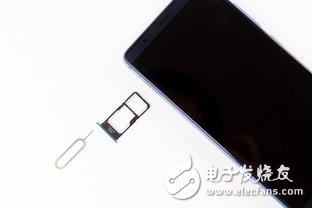
Start dismantling, first shut down to take the Sim card, the machine uses the or card. Compatible with TF cards up to 256GB for expansion.
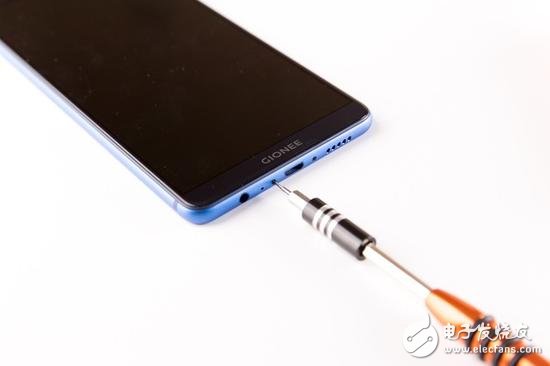
First, remove the two hexagonal Phillips screws at the bottom.
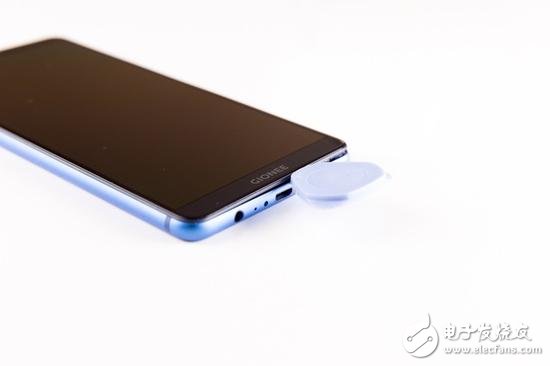
Then use the plastic slats to lift the screen module from the bottom of the fuselage. It is difficult to insert the slanting piece. It needs to be forced. When it is inserted, it can be slid to the side to pick up a gap. Then the step of expanding the gap is completed. It's easier.
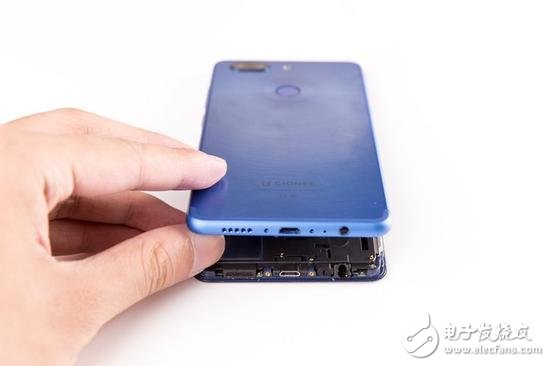
When most of the buckles are released, the back shell can be easily opened.
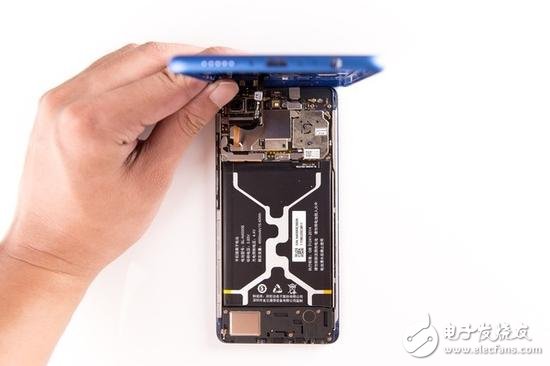
The internal structure of the Gionee M7 is seen by us. It is a three-stage design with a black and metallic silver color. There is no such a sense of cheapness.
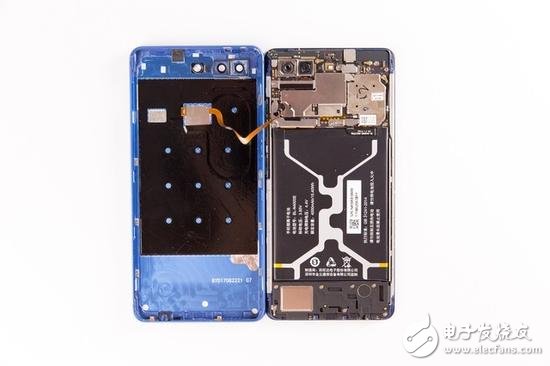
It should be noted that the fingerprint identification cable of the back shell is also connected to the motherboard. We need to disconnect its connector first to completely separate the back shell. Let's do it.
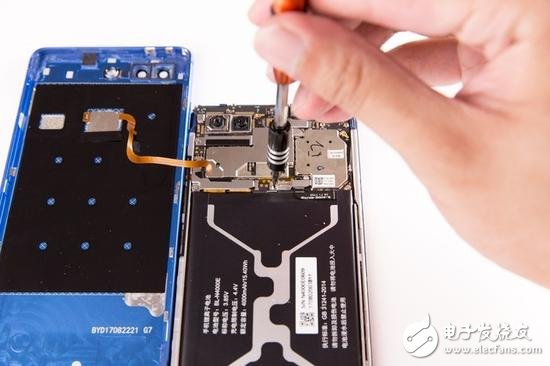
In order to prevent the circuit from being short-circuited, we first disconnect the power connector, first remove the screw of the power connector cover.
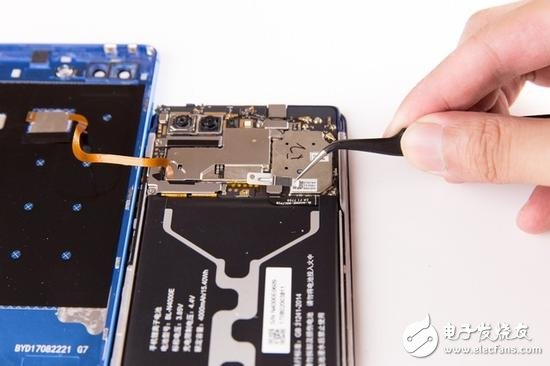
Remove the cover plate and see the fixed foam reinforcement stability at the corresponding position of the connector.
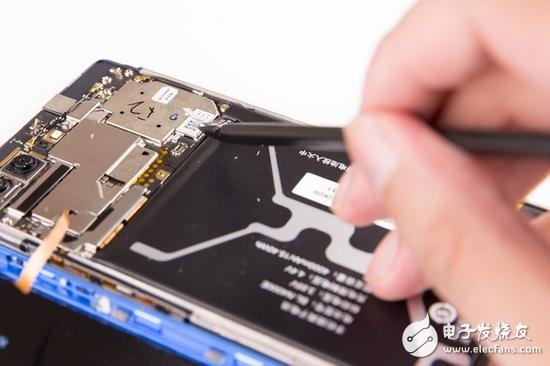
Subsequently, the power connector is disconnected using an insulated pry bar.
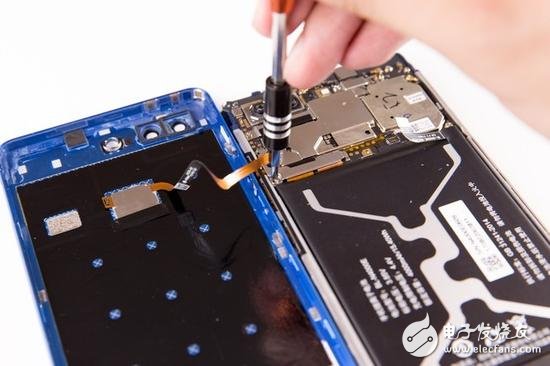
Next, remove the cover screw of the fixed fingerprint connector. Although only one screw is fixed, there is a connector on each side of the cover to connect with the slot on the main board, thereby fixing the function.
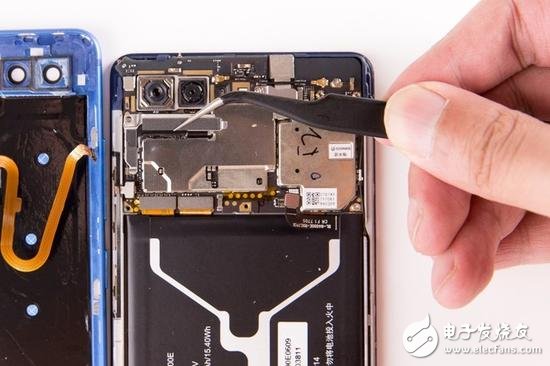
Shake the connector cover a little, remove it from the two slots, and then disconnect the fingerprint connector below to successfully separate the back cover.
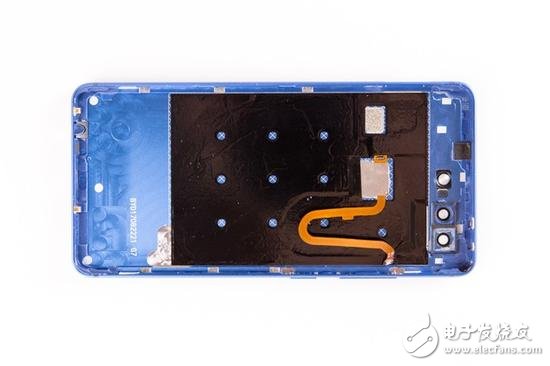
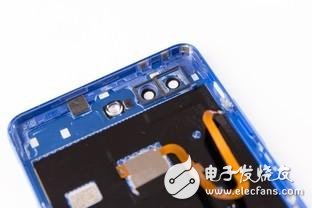
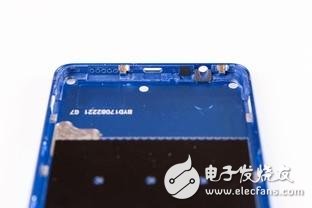
The main board of the back shell and the corresponding area of ​​the battery are affixed with a large area of ​​graphite heat-dissipating stickers, and the corner parts are made of metal and injection-molded two-layer structure, which is slightly thickened. There are many openings at the bottom, and the sealing is general.
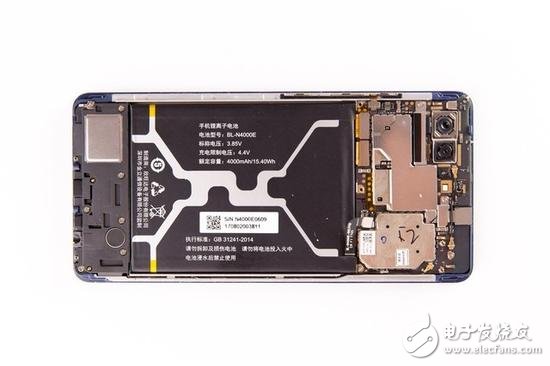
Let's take a look at the fuselage, using a three-stage structure, the board area is relatively small, thus leaving a large space for the battery, so that its capacity can reach 4000mAh.
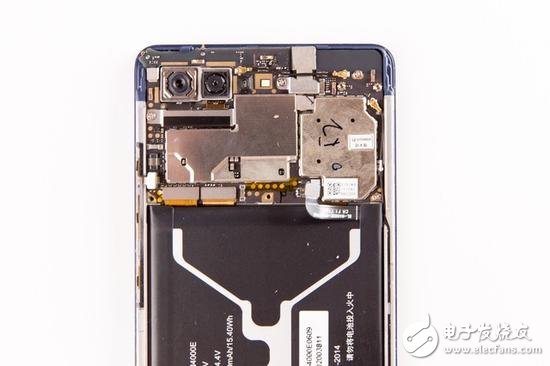
The shield and connector of the motherboard are fully fixed, and the distance between the components is tight, thus ensuring a small motherboard area, but the head space can still see some free areas, and it is perfect if it can be used more.
Compact motherboard design is attentive
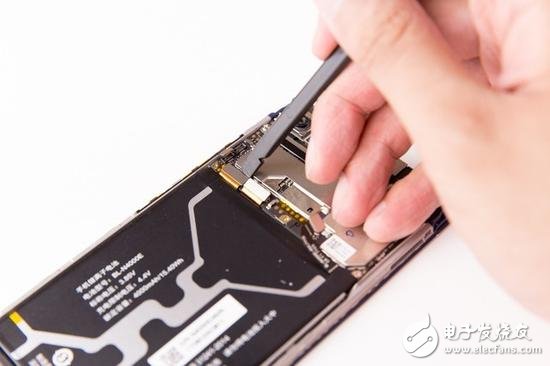
The disassembly continues, we now need to detach the motherboard, so we first need to disconnect all the connectors and screws on the motherboard. First, we first disconnect the three connectors next to the fingerprint connector with an insulated tamper, which are connected to the button module, the bottom PCB and the on-screen display module.
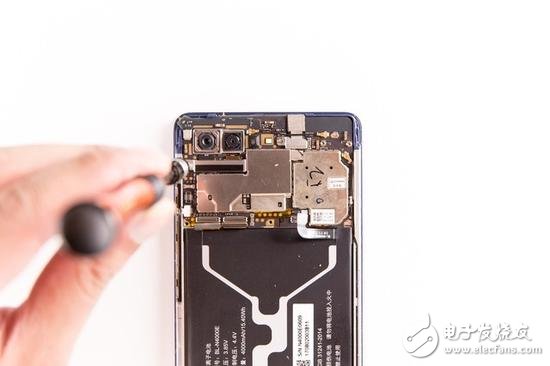
Then remove one screw of the main camera connector fixing cover, one screw of the front camera fixing cover and two screws fixing the main board. At this point, all the screws on the main board are removed.
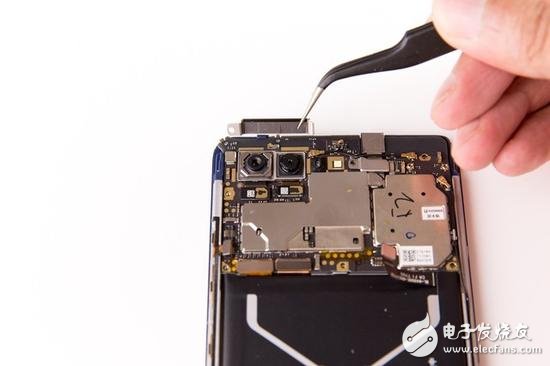
The two connectors of the main camera are found at the bottom of the main camera cover.
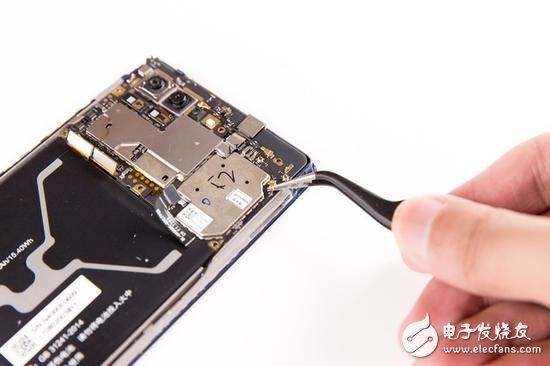
Then disconnect the coaxial cable here.
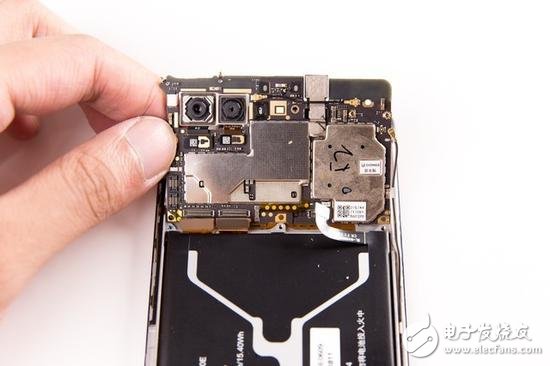
At this point, all the "tie" fixed on the motherboard has been separated, and we can remove the motherboard.
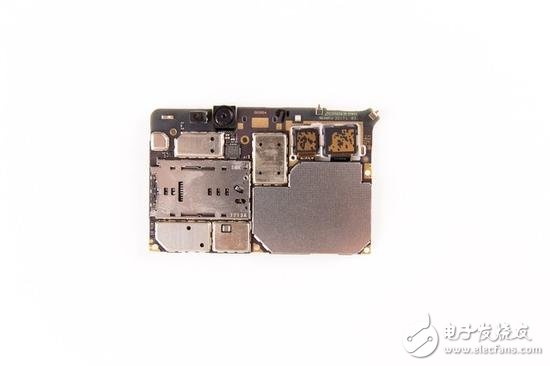
The appearance of the back of the motherboard is “unlocked†by us. As the front side, the density of the components is still very high. The shield has even touched the bottom edge of the motherboard. It is obvious that the designer has worked hard on the space utilization of the motherboard.
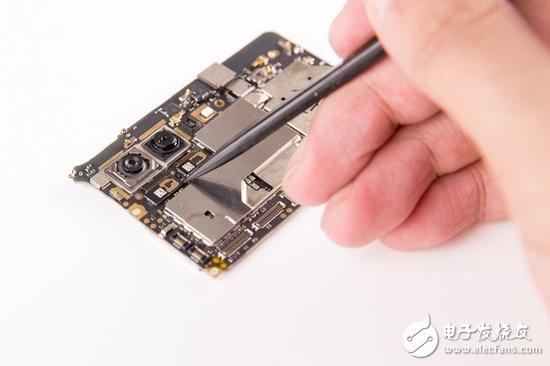
Use the insulated pry bar to disconnect the two connectors of the main camera and then remove them.
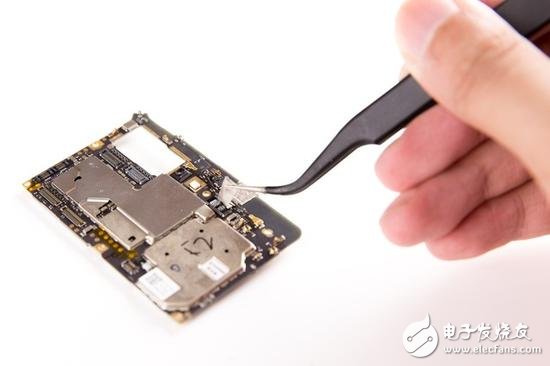
Next, pry open the static sticker on the front camera connector.
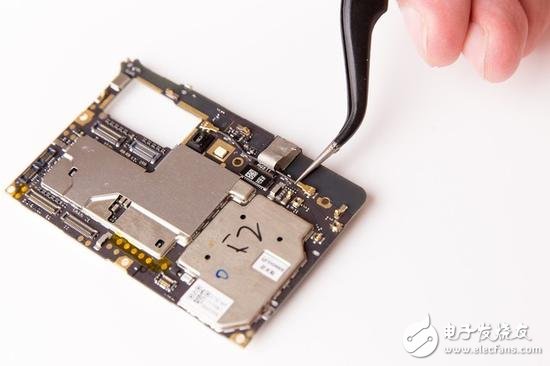
There is also a coaxial line block on the electrostatic strip, so disconnect the two end connectors of the coaxial line.
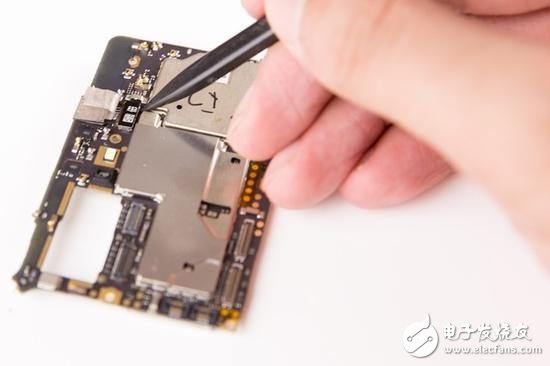
The front camera connector can be disconnected eventually.
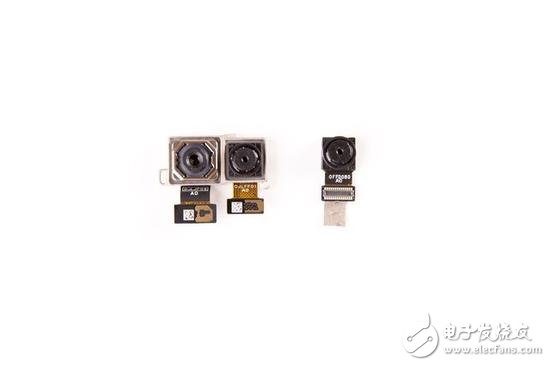
The two cameras of the main camera have a 1600W pixel F1.8 large aperture, and the other auxiliary camera pixel also reaches 800W. It is worth noting that it does not participate in imaging, only responsible for blur recognition. The main camera features multi-frame noise reduction 2.0 technology and HDR Camera Engine 2.0. The front camera pixels are also 800W.
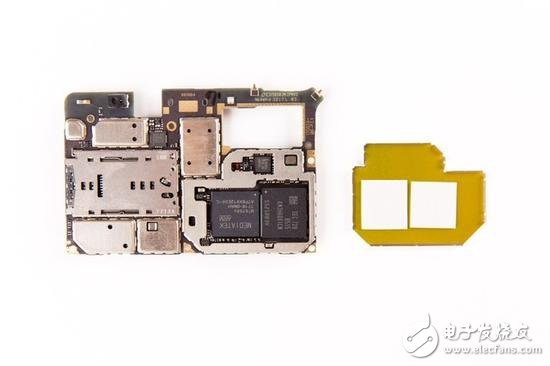
Then open the shield on the front of the motherboard, you can see the MediaTek P30 chip, codename MT6758V, next to Samsung 6GB LPDDR4X memory, speculated that 64GB of flash memory should be stacked underneath it. Both chip surfaces are covered with thermal grease.
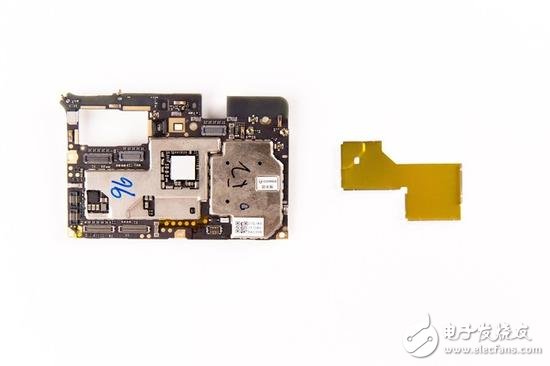
On the other side of the motherboard are power management chips and RF chips. I won't cover them here.
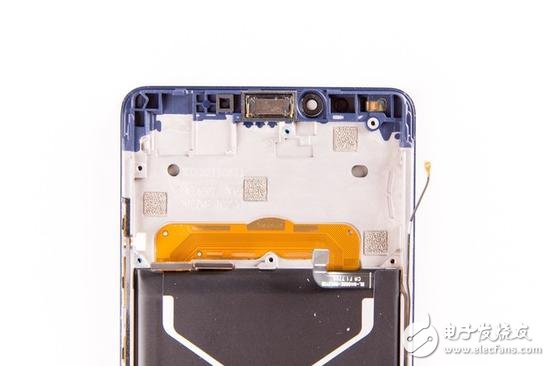
On the back of the main board, the anti-roll frame extends to the position of the earpiece, which is not only used to enhance the structural strength of the whole machine, but also to support the rear screen. It can be seen that the front camera and the earpiece have already reached the limit position, so if you want to press the free space on the front to the screen, you can only work hard on hardware innovation, but this obviously does not have the core. The weakness of technology vendors, so it is difficult for us to see the manufacturers who can really cancel the forehead or chin of the mobile phone.

The button on the side of the fuselage uses a balance bar design, and there is a circle of sealed foam around the button. It seems that the machine has partial considerations in terms of sealing.
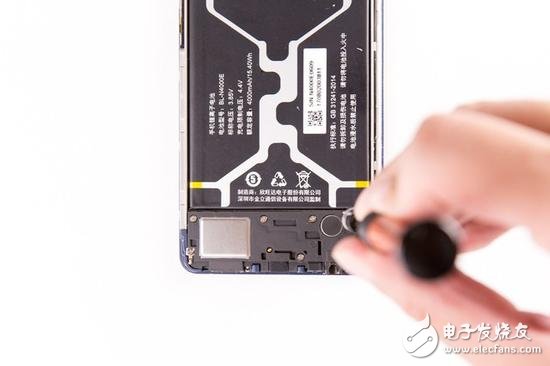
The top is almost removed, then we will disassemble the bottom module, first of all to remove all the screws that can be seen.
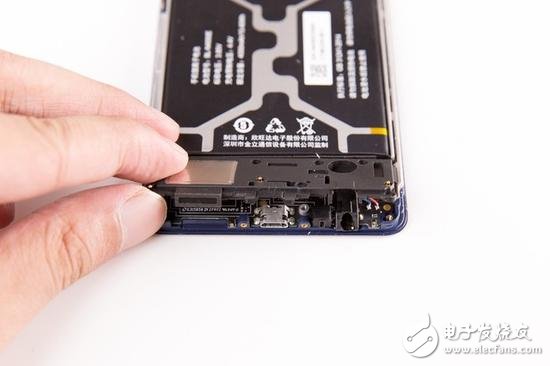
Next, open the first layer - the speaker module.

The sounding unit of the speaker is large in volume, the volume of the cavity of the resonance chamber is still acceptable, and the overall sound quality is better.
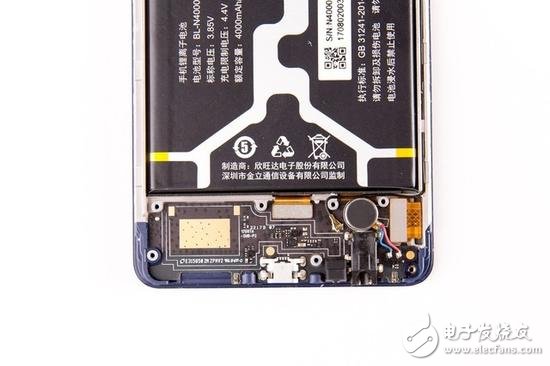
After removing the speaker module, you can see the bottom PCB module.
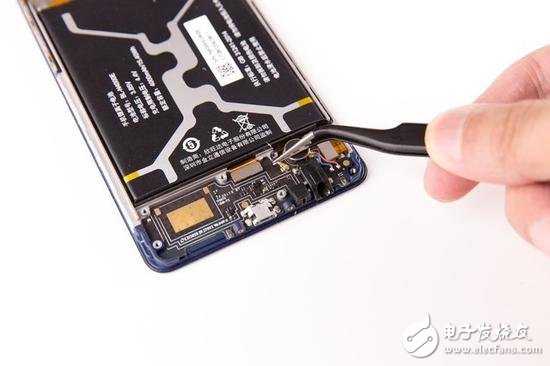
First disconnect all connectors on the bottom PCB, including the coaxial connector and the motherboard mainboard cable connector.
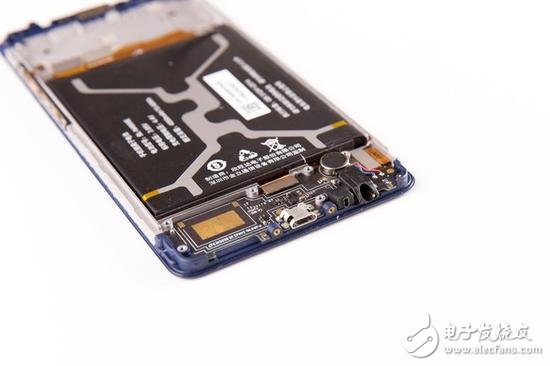
The sealing at the bottom of the machine is not ideal, especially the data interface uses a metal frame design, which makes it difficult to prevent moisture from entering. Therefore, users of the machine are advised to avoid using them in humid places and avoid soaking.
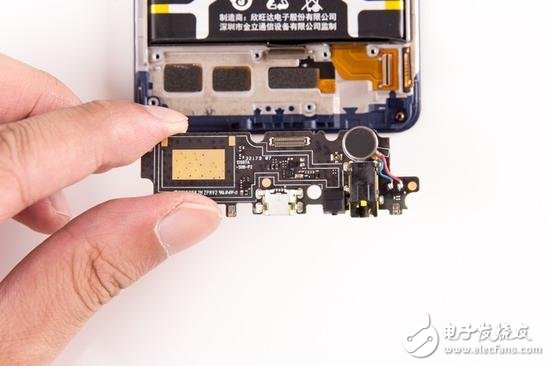
After removing the bottom PCB, you can see the vibration module, and the headphone connectors are integrated.
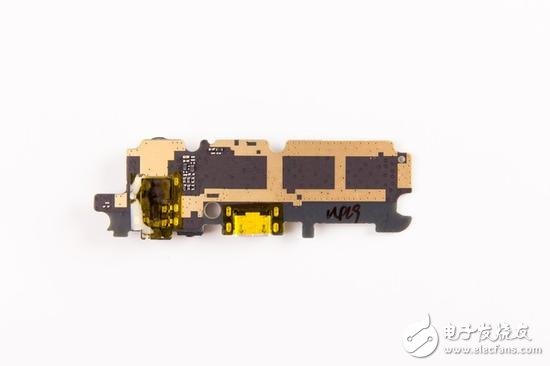
There are no core components designed on the back of the bottom PCB.
So is it suitable for you?
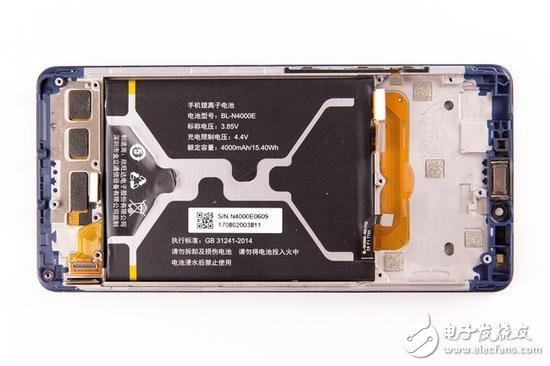
Disassembled here, most of the components of the fuselage are separated. In addition to this big guy - battery.
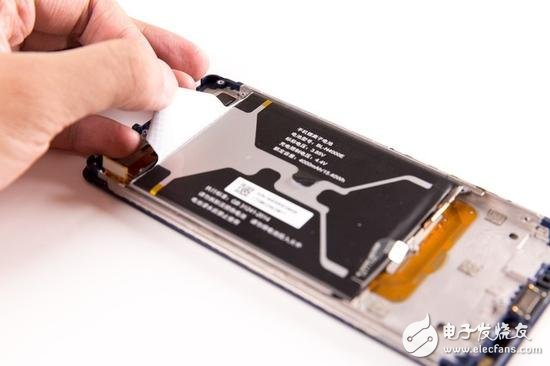
We found that the battery surface was designed with four large-area handles, so lift them up and try to separate the battery, but the battery is not moving and the fixing is very firm. Eventually we found that the handle at the bottom of the battery was the easiest to propose and eventually separated the battery. In general, it is easier to replace the battery than a model that is fixed with strong double-sided tape.
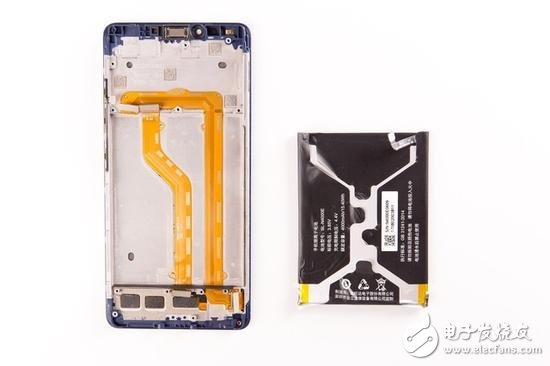
After removing the battery, I found that there was nothing on the back of the battery, and all the information was concentrated on the front. The battery is Xinwangda OEM, with a capacity of 4000mAh, 15.4Wh. From the point of view of the parameters, the performance is very good, to know that the thickness of the machine is only 7.2mm.
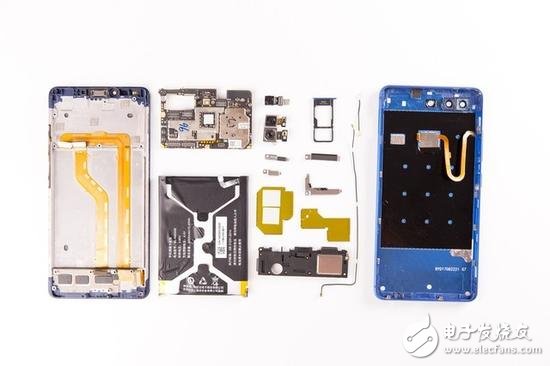

Disassembly summary:
At this point, our dismantling has come to an end. This Jinli M7 full screen mobile phone dismantling, we have removed a total of 15 screws. The internal workings of this machine give me the feeling that there are not many surprises, but it does not make people feel too disappointed. The good side is that the motherboard has a higher utilization rate, which leaves more room for the battery and thus has a larger capacity. The heat dissipation design of the chip uses more heat-dissipating grease to ensure better heat dissipation. And the appearance of the sun pattern on the back of the machine can be regarded as adding fresh elements to the full screen market; while the shortcoming is as a medium and high-end mobile phone, in terms of sealing, it is only the level of the thousand yuan machine.
Targeting people:
I think the Jinli M7 phone looks more stylish and durable, but the tough lines make it still out of business positioning. I think the user group of this phone should be in the range of 30 to 50 years old. This group will not Deliberately "abuse" the mobile phone, but use the mobile phone as a tool for their work and life. They have relatively high requirements for the safety and battery life of the mobile phone, and they want to use it for 2 years. I think for such users, Gionee M7 will be a good choice.
Powerwall Battery is a high-tech product developed to meet the requirements of the new home backup power supply. It has the characteristics of integration, miniaturization, light weight, intelligence, standardization, and environmental protection.ZTTEK-48V-100Ah has a lithium (LiFePO4) battery storage capacity of 5kWh, allowing you to stay away from the grid as you like.
Home Solar Energy Storage,Home Solar Energy Storage Battery,Home Energie Storage Batterie,Lithium Battery For Solar Energy Storage
Jiangsu Zhitai New Energy Technology Co.,Ltd , https://www.zt-tek.com