Opening
A while back, my friend said that her Polaroid camera is broken, can not boot, can not be charged, used twice, and asked if I could help to see how I like to toss digital how can I miss this great opportunity. So immediately agreed to a friend, 2 days later received the courier.
Pre-analysis
Before receiving the goods, I also searched the Internet to see if other users had similar problems. According to a friend's description, if you don't use it for a few times, you won't be able to turn on and charge it, and you'll know that the problem is 80% in the battery. Google for a moment (you know...), there really are people with similar problems...


Start tossing
X Bao searched for a moment, and sure enough, the seller actually shot the camera's battery, immediately purchased, and began to work
Take a look at this camera before disassemble
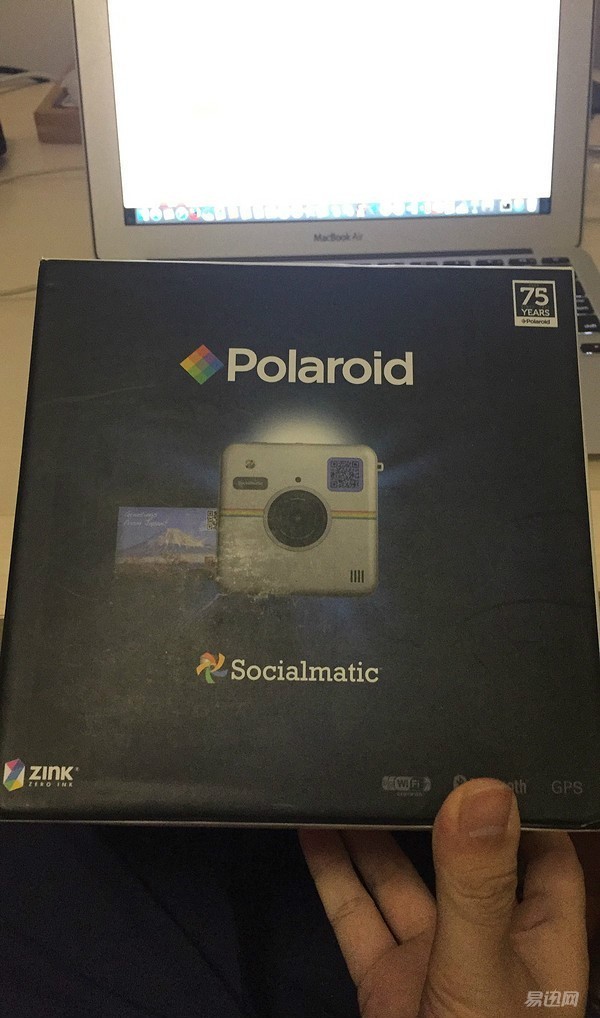
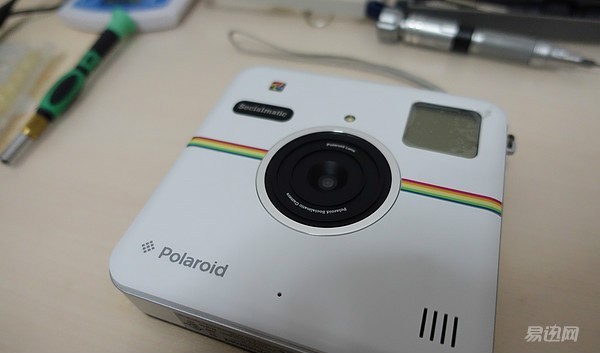
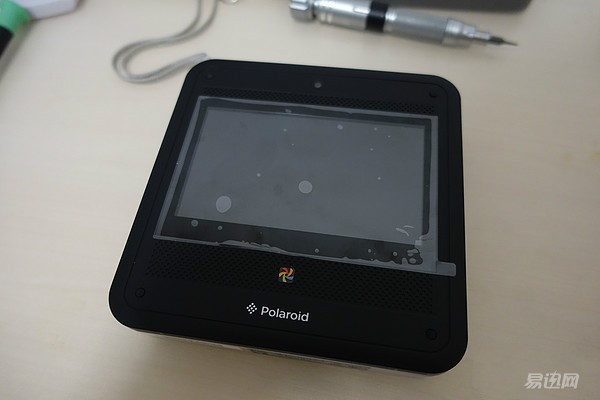
It’s just a camera that only used twice, the box is full, and it’s just at home
The highlight of the show begins: "Open the belly and break belly"
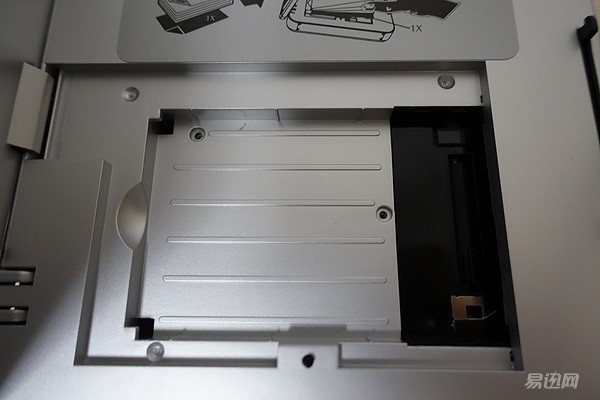
1) Remove the two screws in the back cover of the photographic paper, remove the three screws on both sides of the front panel, and finally remove the front panel with an A-bar.

2) Unplug the power cord
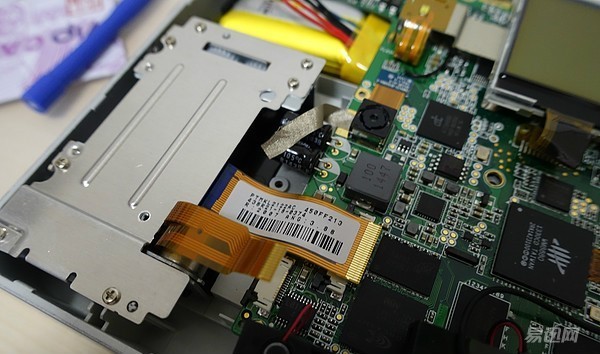
3) Remove the 2 black screws in the picture
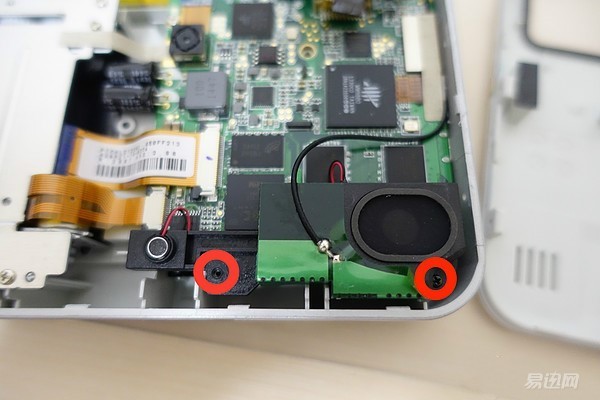
4) Open the horn and unscrew the two screws hidden below
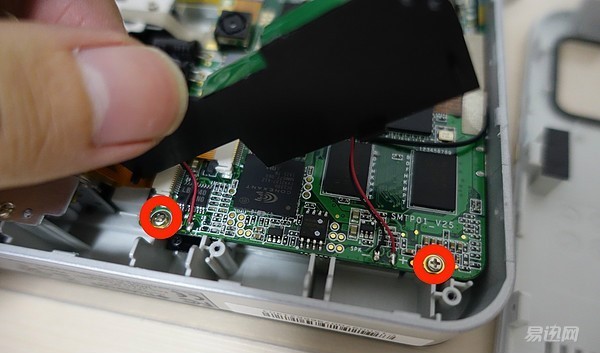
5) Remove the four screws as shown
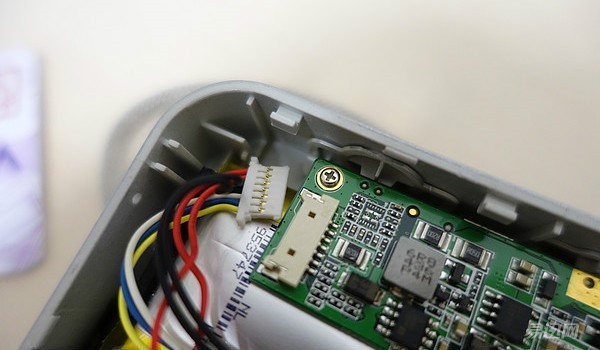
6) Pull out the two cables. Note: Push the black switch to the left as shown in the figure, and never switch to the circuit board when using a screwdriver to push the switch.
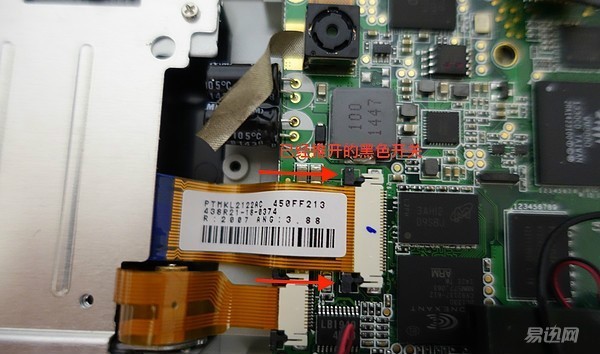
Pull out the cable as shown in the picture
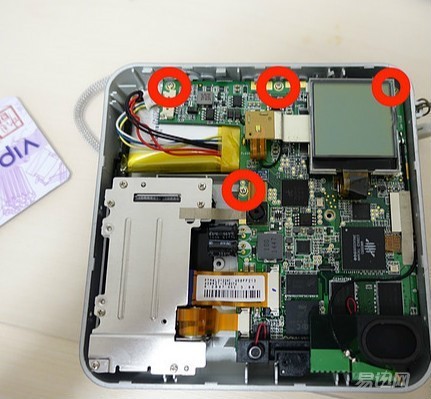
7) Open the entire circuit board. Note that the right side of the circuit board is still connected with the cable and the wire and the bottom, do not break. This time you can replace the battery, the bottom of the battery with a viscose, when the demolition is more troublesome, it is recommended to find a helper holding the circuit board with his hand, two hands and use to remove the battery.
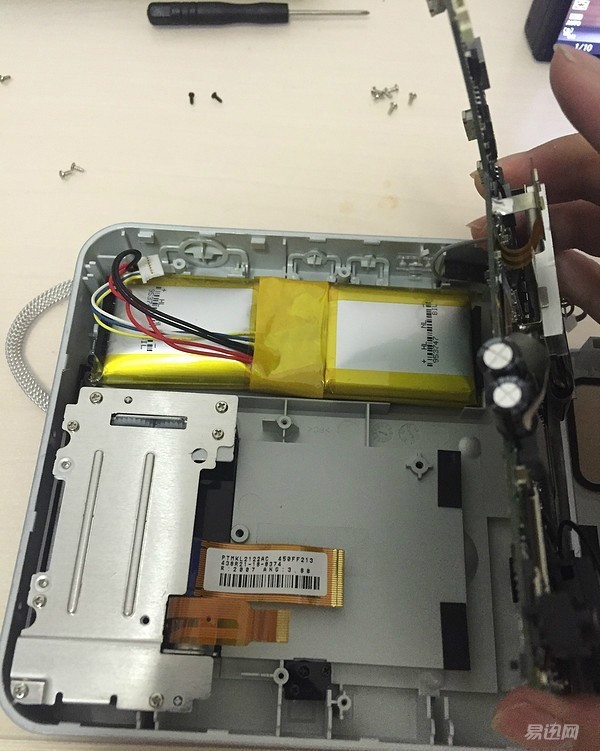
8) Insert a new battery. Place it in the same way as the old one. Do not rush to remove the double-sided tape at the bottom of the battery. Just put it on, and then connect the cable to the power cord. It's successful
9) Unplug the power cord, arrange the cables, open the motherboard, tear the double-sided adhesive on the back of the battery, fix it, and finally screw all the screws in accordance with the unpacking procedure. Close the cover and you're done.
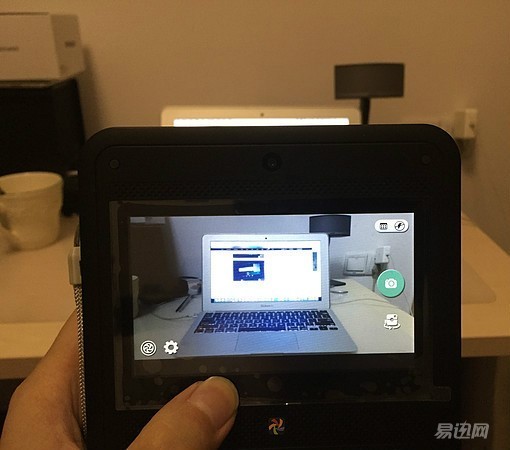
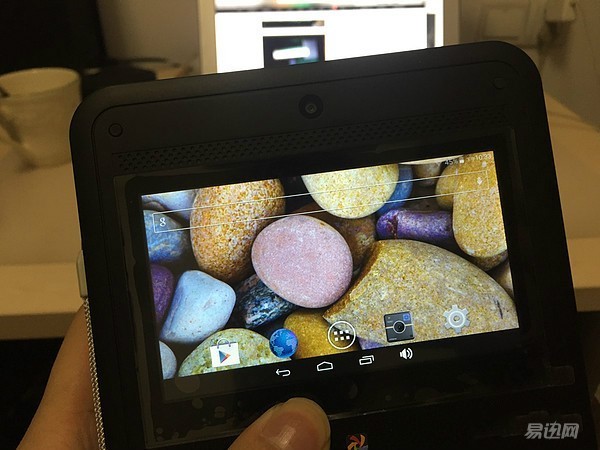
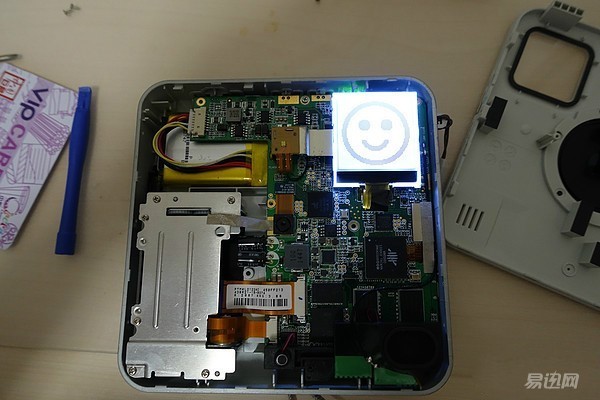
full HP resurrection
Powered on to restore the system, Andrews 4.1.1, even a firmware upgrade package push, decisively upgrade it. A small trial, in fact, is to use Socialmatic app to take pictures, and then print photos, while the app also comes with a photo frame, Lomo's special effects for adjustment, playability is OK. It was this shutter that squatted down and waited for a long time before it came to a "squeaky" analogue shutter sound, which was really not suitable for an acute child. Well, this is the end of the assignment. Thank you for reading.